
Well, that's not quite the final product. The fact is, that there was a major design flaw, which I will explain below.
At a high-level, the process of building it could be broken down into these four steps:
The high-level list of the process was this:
- Decide to build a TV stand out of wood.
- Cut the pieces of wood.
- Screw the pieces of wood together.
- Attach the stand to the TV.
The point of this post, is that in designing and building something to its final form, there are often an huge number of steps to get to the end that you never considered when you started the project. There's a process you go through of thinking, designing, building, fixing mistakes in the design, fixing mistakes in the building. Most of the time, things don't go as expected and/or you haven't thought through everything that was needed to be successful.
This can apply to many things designed and built including: a software application, a work of fiction, or in this case a simple TV stand made of a few pieces of wood.
This was the problem: We have a corner shelf where I wanted to place a spare TV, but the TV with its stand was about 1/8 of an inch too tall to fit.
I ended up solving the problem with my modest carpentry skills, and the tools I have (a sliding compound mitre saw and a drill/screwdriver).
The end result is pretty simple. Basically, attach the TV to few screwed together pieces of wood. Yet, after I finished, I thought about the process I took to get from conception to final product. And it wasn't a few steps. It was a lot of steps with a lot of missteps. There were screw-ups in the design that I had to correct while building it. There was the misreading of a table on Wikipedia. There were holes drilled not quite in the right place.
Now, a skilled carpenter would have done this in fewer steps (and missteps), but I just want to show my minute details of the process in getting this project done.
- Decide to put old TV on the shelf.
- Measure corner shelf. It's 22¾" tall and 40" wide.
- Measure TV - 22⅞" tall. ⅛" too tall. TV is 32” wide.
- How can TV height be reduced?
- Sand down stand. Could possibly work, but don’t have power sander, maybe possible by hand. But how to make sure the sanding is done evenly and not slightly off horizontal. And would it affect the structural integrity of the stand?
- OK, what are the alternatives? How about building a new stand out of some of the scrap wood I have in my shed. And since the stand would be behind the TV and not visible, it could look crappy and it wouldn't matter.
- So, how do I build this stand? Scrap 2x4s, 2x3s, or 1x3s I have? Could be done, but could be hard to align everything square, especially with scrap wood not necessarily straight.
- Ah, but I have some old IKEA Ivar shelves. ¾" pine glued together in strips to form a strong and square shelf 12x30. But they do have metal brackets on the ends to attach to the frame. They could be cut off the end of the shelves, but they shouldn’t be in the way, so I can leave them on and avoid extra cuts.

- The stand can be one piece of shelf mounted vertically at the edge of the other.
- How would I mount the TV to the stand? I see screw holes on back of the TV and measure them. An 8” square. But what type of screws?
- Google TV mounts, and learn about Flat Display Mounting Interface (FDMI) or VESA mount.
- The mount model table lists the dimensions in millimeters. There's 25.4 mm per inch, so 8 times 25 is about 200mm. And that matches a VESA F M6 200 mount.
- I can buy a VESA 200 bracket and attach it to my wood stand.
- Monoprice has one at for $4.42 with free shipping, but it’s normal ground shipping and I want to just get this done without waiting for the bracket.

- The same mount on Amazon with two day prime shipping is $11. I still don't want to wait two days, I want to start tomorrow.
- But why do I need to buy a mount if I’m building a stand anyway? Duh. I'm just mounting a mount on to the stand. I can just drill holes in the stand for the screws.
- Wait a day for the weekend, so I have the time to build the stand.
- I read the table on Wikipedia and it says VESA 200 takes M4 screws. Not sure exactly what they are, but presume it’s a metric measurement.
- Measure depth of screw holes by how far a skewer goes in: ¾". It think the wood I'll likely use is about ¾” thick - so about 1½" long screws.
- Don’t want screws that are too long - won’t be able to tighten TV to stand. Too short and the screws won’t hold the TV well. But short is better than too long.
- Go to local hardware store and look for M4 screw bin. Find it. But these are metric screws, so their length will be in millimeters. Again 25.4 mm per inch, so 25.4 + half of 25.4, say 13, makes 38mm. There are M4 screws in 35mm and 40mm. To be safe, and not have to return to hardware store, I buy 8 screws, four M4 35m and four M4 40mm. They’re about $.25 a piece, so no big deal buying extra screws.
- Bring screws home and try to screw them into back of TV. They aren’t wide enough. This VESA mount doesn’t use M4 screws. So, I have to head back to the hardware store anyway. My guess is that the screws should be M6. 35mm, seems right, though. I go back to the hardware store and buy the 35mm long M6 screws. (I didn't recheck the table then, but looking at it now it clearly says for VESA 200 to use M6 screws, not M4).
- Now, how do I build the stand that square and rigid?
- I could use a scrap 4x4 piece as a support where the boards meet in the corner? Both horizontal and vertical pieces of stand can screw into the 4x4.
- Ah, but I’ve had this Kreg Jig kit for a couple of years and never used it. This is the perfect use for it. Use the jig to drill 2 shallow angle holes in the vertical piece to attach to the horizontal piece with the Kreg screws.

- But I know that won’t be rigid enough, so I can cut a 2x4 at 45 degree angles on both ends to make a brace.
- How tall should the vertical piece be? The finished stand must bring the TV down lower than the original stand for it to fit on the shelf. I measure about 19” from top of screws to just below the TV. There can be some slop here. It doesn’t matter if the stand is a little tall as it will be hidden behind TV. I can always cut it down if needed. But can’t make it too short or bottom of TV will be below bottom of stand.
- Cut off a 19” section of one Ivar shelf for vertical piece, leaving metal bracket on top edge.
- But what dimension should be used for the horizontal part of the shelf? I decide to cut my other Ivar shelf to 21” long, again leaving the bracket on the piece I use. The long side of the horizontal section will be along the length of the TV. The vertical section will be screwed to the middle of the horizontal piece in the edge.
- Read instruction manual of the Kreg jig. Set the stop collar on the drill to the ¾” setting (for ¾” thick wood). Clamp the jig to the non-bracket side of vertical piece near edge. Drill one hole.
- The hole looks to be too close to the edge of the board for the screws to go in. Something’s not right. Oh, there's another setting. I forgot to set the depth to ¾” on the jig.
- Drill a new hole with jig. Looks better.
- Drill a second hold with jig near other edge of board.
- Using the Kreg 1.25” screws (the Kreg manual gave that length for ¾" lumber), screw the two pieces of the stand together.
- Looking good. But as fully expected, not rigid enough.
- Adjust saw to cut 45 degree angle from vertical. Use scrap lumber and cut brace, eyeballing a size that will work with the stand.
- Screw one 1.25” screw in brace to vertical part of stand.
- Damn. I’m not making sure this is square. Unscrew single screw in brace.
- Clamp two Rocker Clamp-It Assembly Squares to stand to square it. These are rigid plastic L's and easy to use to square a construction project.

- Put four screws in brace. Two on top, two on bottom.
- Remove clamps and assembly squares.
- Stand is nice and rigid!
- Now I need to drill the holes for the screws to connect to the TV.
- I lay the TV face down on a table.
- Tape an 8x11.5” piece of paper on back of TV for template for mounting screws.
- Use a pencil to poke through template over screw holes.
- Tape template to vertical piece of stand, making sure it’s neither to high nor too low.
- Mark where the holes are in the template.
- Use a carpenter square along the edge of the to draw a line across the wood so I know that the holes will be properly aligned.
- Find drill bit that seems the right size for the M6 screws and drill the first hole.
- The hole isn’t wide enough. Choose the next size up drill bit.
- Drill all 4 holes for the mounting screws.
- Put the stand on the back of the TV, pass screws through the holes and tighten.
- Hmm, the lower right hole is slightly off and I can't get the screw in its hole. Remove other screws and take stand off TV. Drill that hole wider so there can be some slop on where the screw goes through to the screw hole. The slop is not a big deal as three other screws are aligned correctly, and all four screws will be in tightly.
- The stand is now installed! Take TV and stand off table and put on floor to see how well it works.
- Uh… This is top heavy, the TV would fall flat on its face if I let it go. The regular stand goes right under the TV and is balanced. This stand is all behind the TV and thus not balanced. I really should have thought of this in advance.
- How can I fix this? Put something heavy at the back of the stand. What will work? Let me test with an expired fire extinguisher sitting around. That works, but is sort of awkward. How about some weights? I have a 1 pound, 2 pound, 3 pound and 5 pound dumbbells. How much weight do I need? 5 pounds does it. But I want to keep my dumbbell, so I need an alternative.
- I could buy some new dumbbells, or just some loose weights.
- But bricks are cheaper. I buy 3 concrete bricks at Home Depot for about $1.50.
- I put stack the bricks together and put them at the back of the stand. It works. The TV stays upright.
- I take the bricks off the stand (making sure TV is supported against a table leg), and wrap duct tape around the stack of bricks to hold them together.
- The bricks do work to keep TV and stand upright, but the stack of bricks could fall forward or backward.
- The solution I come up with is to cut a 4x4 at a 45 degree angle, and stick it on the brace, so it is between the bricks and brace. Then duct tape it all together.
- But since I don't want to lift the weight of the TV and bricks together, the final duct taping can wait until the TV is on the shelf.
- But hold it! The shelf the TV is to sit on is a corner shelf. With the stand's base's edges of 90 degrees, the stand won’t fit on the shelf as it will hit the corner walls. Again, something I should have thought about in advance.
- I have to cut the stand's base at 45 degrees so it will fit on the shelf.
- Remove stand from TV.
- I first have to cut off the metal bracket that I didn't bother cutting off before because I didn't think it was necessary.
- Cut the back corners of the stand off at 45 degree angle.
- Reattach the stand to the TV.
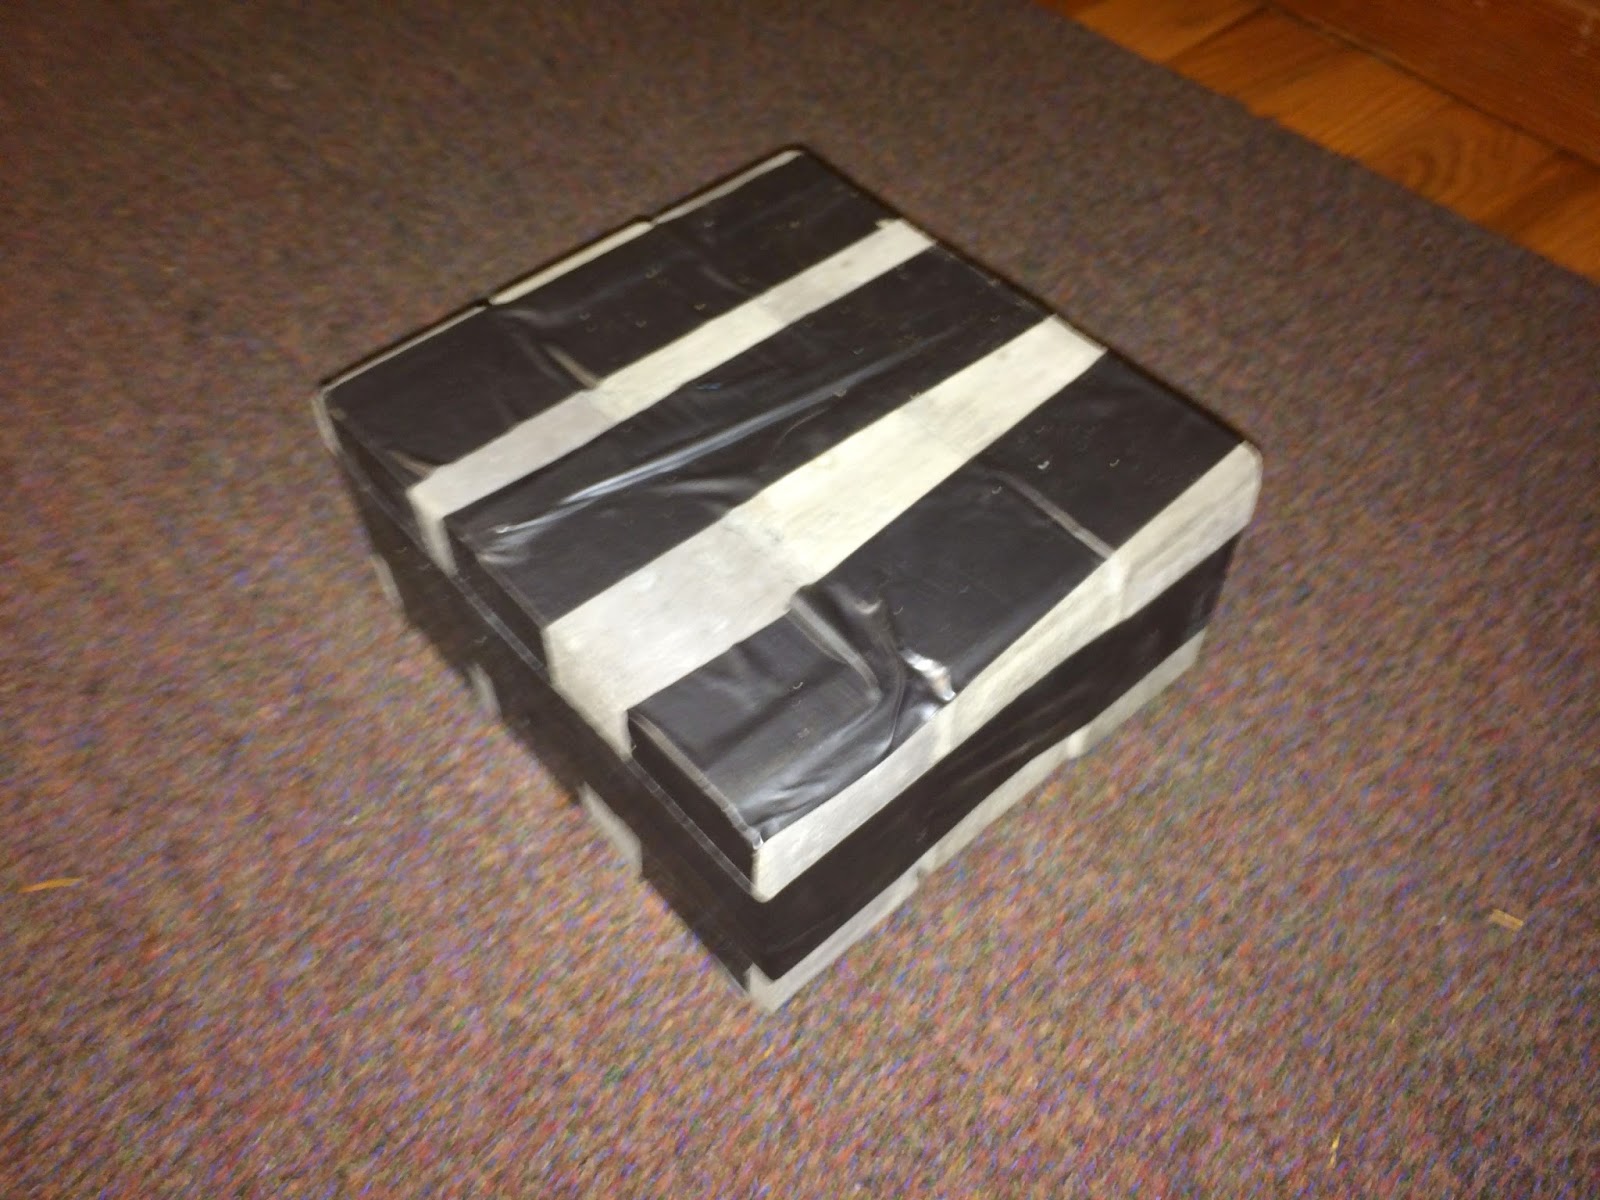
- Lift the TV and stand onto the shelf, put the bricks and 4x4 on the back of the stand.
- Take this picture of the (almost) final project:

- Tear off some lengths of duct tape to tape the bricks and 4x4 to the brace with some inelegant loops that are conveniently hidden behind the TV.
- Straighten out TV and stand on shelf.
And done.
This comment has been removed by a blog administrator.
ReplyDeleteThis comment has been removed by a blog administrator.
ReplyDelete